HomeAbout

Measuring ShareGate Performance when Copying MS Teams

By Denis Molodtsov
Published in Teams
February 09, 2025
2 min read
Measuring ShareGate Performance when Copying MS Teams

Table Of Contents

01
Introduction
02
Our Test Setup
03
Migration Options: Bulk vs. Sequential
04
Detailed breakdown: Migration of 100 MS Teams using ShareGate
05
Using PowerShell for Bulk Migrations
06
Credits
07
Conclusion

Introduction

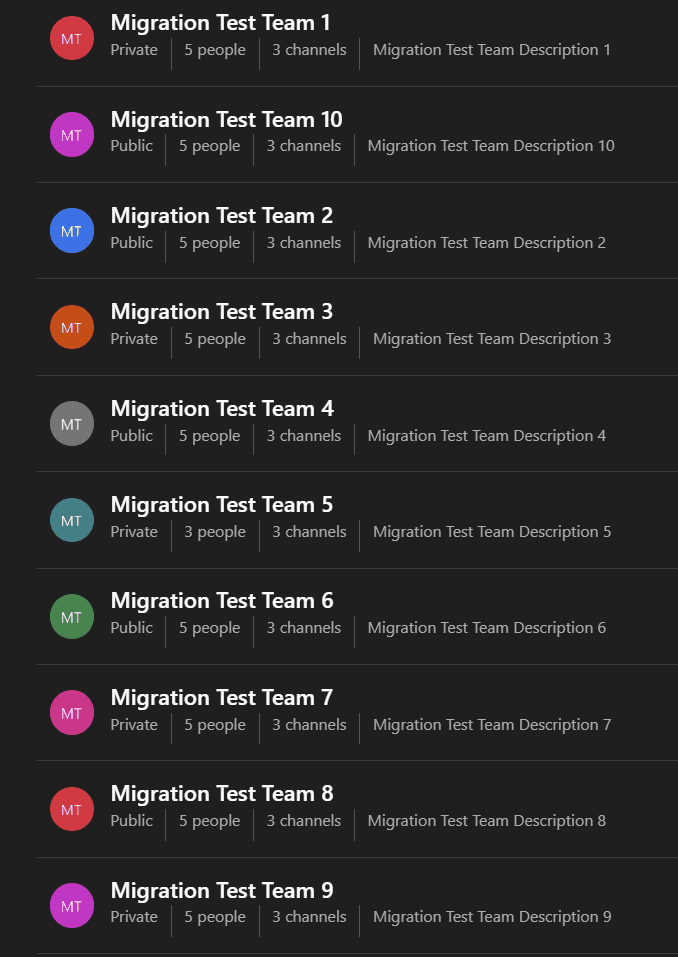
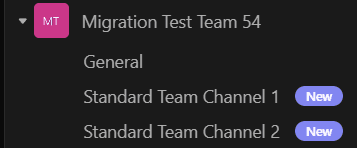
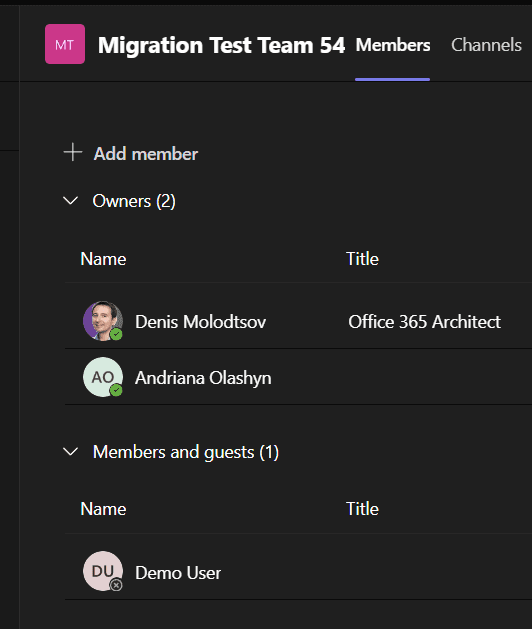
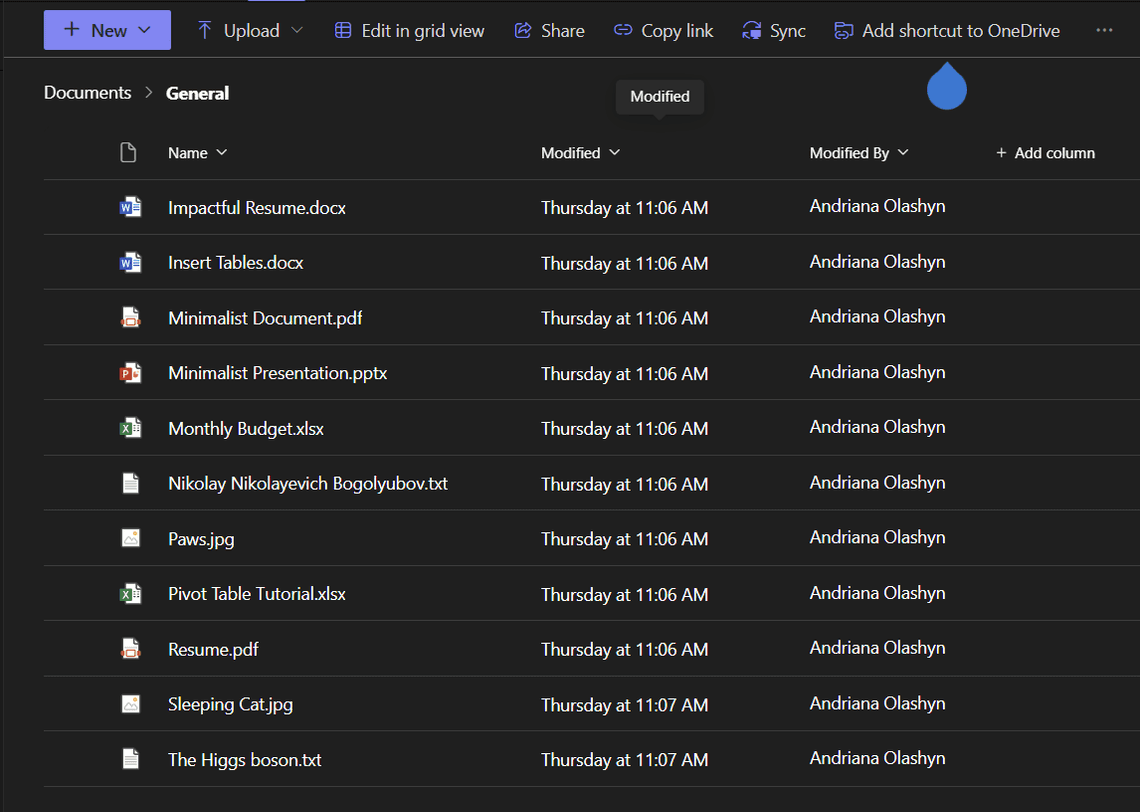
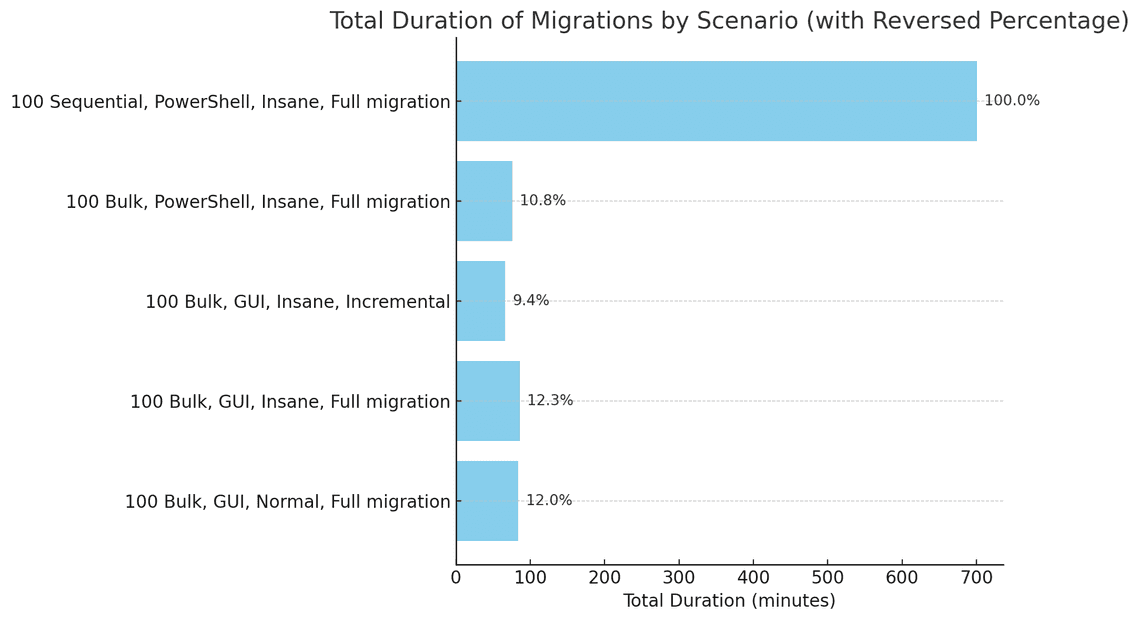
Hey everyone! Migrating Microsoft Teams across Microsoft 365 tenants might sound like a headache — especially when you have tons of teams to move. I want to share my little experiment of migrating 100 MS Teams using ShareGate. I’ll walk you through my test setup, chat about the different ways to migrate (using the GUI and PowerShell), and compare bulk versus one-at-a-time migrations. Spoiler: doing it in bulk is up to 10 times faster!

Our Test Setup

For our tests, we set up 100 Teams:

  • 50 Private Teams
  • 50 Public Teams

100 test teams
100 test teams

Each team was packed with:

  • 3 Channels:

    • 1 private channel
    • 2 public channels

      Sample team with channels
      Sample team with channels

  • Membership:

    • 2 Owners
    • 1 Member (or Guest)

      Screenshot: Team members and owners
      Screenshot: Team members and owners

  • Files:

    • Each team had 11 files (Word, PDFs, PowerPoint, Excel, images, and text files) totaling about 11 MB per team.

      Screenshot: Files in the General channel
      Screenshot: Files in the General channel

  • ShareGate Settings:

    • We migrated Files, Tabs, and Membership.
    • We skipped Messages, Planner plans, and Apps (none to move).

      Screenshot: ShareGate migration settings
      Screenshot: ShareGate migration settings

Migration Options: Bulk vs. Sequential

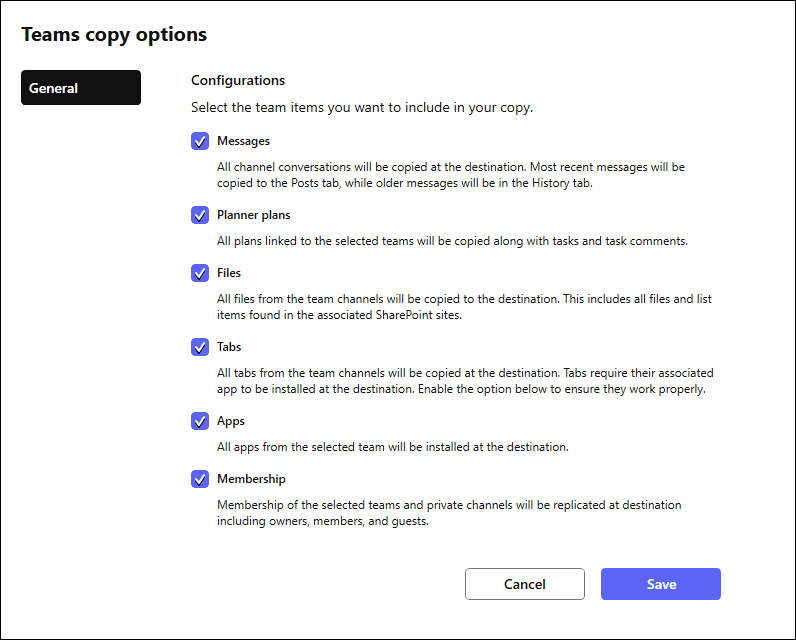
ShareGate lets you migrate Teams in two main ways:

  • Bulk Migration: Move all 100 Teams at once using either the GUI or PowerShell.
  • Sequential Migration: Move each team one at a time.

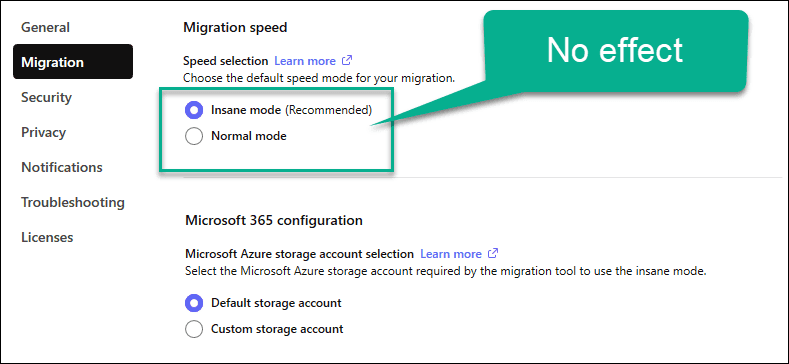
Our tests showed that bulk migration is the clear winner. Even if you fiddle with performance settings like “Insane” mode, the bulk approach is just much more efficient.

💡 A noteworthy observation from our testing was that using the “Insane” performance mode in ShareGate did not yield a noticeable speed increase when migrating Microsoft Teams. Instead, the bulk approach—regardless of the performance mode—was the key to achieving significantly reduced migration times.

Insane Mode makes no difference

Quick Performance Rundown: Migrating 100 MS Teams

TypeInterfaceMigration TypeTotal DurationAvg Time per Team
Bulk (GUI)GUIFull migration~1 h 24 min~50 sec
Bulk (PowerShell)PowerShellFull migration~1 h 16 min~45 sec
SequentialPowerShellFull migration~11 h 41 min~7 min 6 sec

Comparison Graph
Comparison Graph

Bottom line: If you’re moving a bunch of Teams, go bulk—it’s a total time-saver!

I also tested using the low, normal and hight modes

Detailed breakdown: Migration of 100 MS Teams using ShareGate

Bulk vs SequentialGUI vs PowerShellPerformanceModeTypeTotal DurationDuration per Team
100 in BulkGUIHighNormalFull migration1 h 24 min50 sec
100 in BulkGUILowInsaneFull migration3 h 45 min2 min 15 sec
100 in BulkGUINormalInsaneFull migration1 hour 29 min??
100 in BulkGUIHighInsaneFull migration1 h 26 min51 sec
100 in BulkGUIHighInsaneIncremental1 h 6 min41 sec
100 in BulkPowerShellHighInsaneFull migration1 h 16 min45 sec
100 sequentialPowerShellHighInsaneFull migration11 hour 41 min7 min 6 sec

Using PowerShell for Bulk Migrations

If you’re into scripting, here’s a quick PowerShell snippet that shows how to do a bulk migration:

# Import the required modules
Import-Module sharegate
Import-Module MicrosoftTeams
# Connect to the source and destination tenants
$SourceTenant = Connect-Tenant -Domain gocleverpointcom -DisableSSO -Browser
$destinationTenant = Connect-Tenant -Domain cleverpointlab -Browser
Connect-MicrosoftTeams -TenantId 22bcd981-eaa6-475f-aac3-3afca0c35261
# Get the teams (filter by display name)
$teams = MicrosoftTeams\Get-Team | Where-Object { $_.DisplayName -match "Migration Test Team" }
$teams = $teams | Where-Object { $_.DisplayName -ne "Migration Test Team 00" }
$TeamNames = $teams.DisplayName -join ',' -split ','
# Bulk migrate all teams at once
$TeamObjects = sharegate\Get-Team -Name $TeamNames -Tenant $SourceTenant -AllowMultiple
Copy-Team -Team $TeamObjects -DestinationTenant $destinationTenant

Credits

Credits to Andriana Olashyn for participation. She provisioned test 100 MS Teams with files and helped conduct the performance tests.

Conclusion

Our tests clearly demonstrate that bulk migrations with ShareGate—whether executed via the GUI or PowerShell—are far more efficient than sequential migrations. Migrating in-bulk not only reduces the overall migration duration (by up to 10 times) but also simplifies the process by eliminating the need to manage hundreds of individual migration jobs.

For organizations planning large migrations, leveraging bulk migration methods in ShareGate is essential. The efficiency gains are substantial, with little to no downside. This approach also raises an interesting question: can similar bulk migration techniques be applied to OneDrive or SharePoint site migrations? While our tests focused on Microsoft Teams, further exploration in other areas could yield valuable insights.


Tags

SharePointTeamsPowerShell

Share

Previous Article
Vanilla JS and SharePoint REST API
Denis Molodtsov

Denis Molodtsov

Microsoft 365 Architect

Related Posts

Exporting Live Captions from Microsoft Teams
May 05, 2023
3 min

Quick Links

About

Social Media